
Want to give your bathroom a facelift? How about a waterproof, attractive, practical solution that's easy to install? That's what decorative PVC coverings offer. In the blink of an eye, your shower stall will have a whole new look...
The advantages of cladding
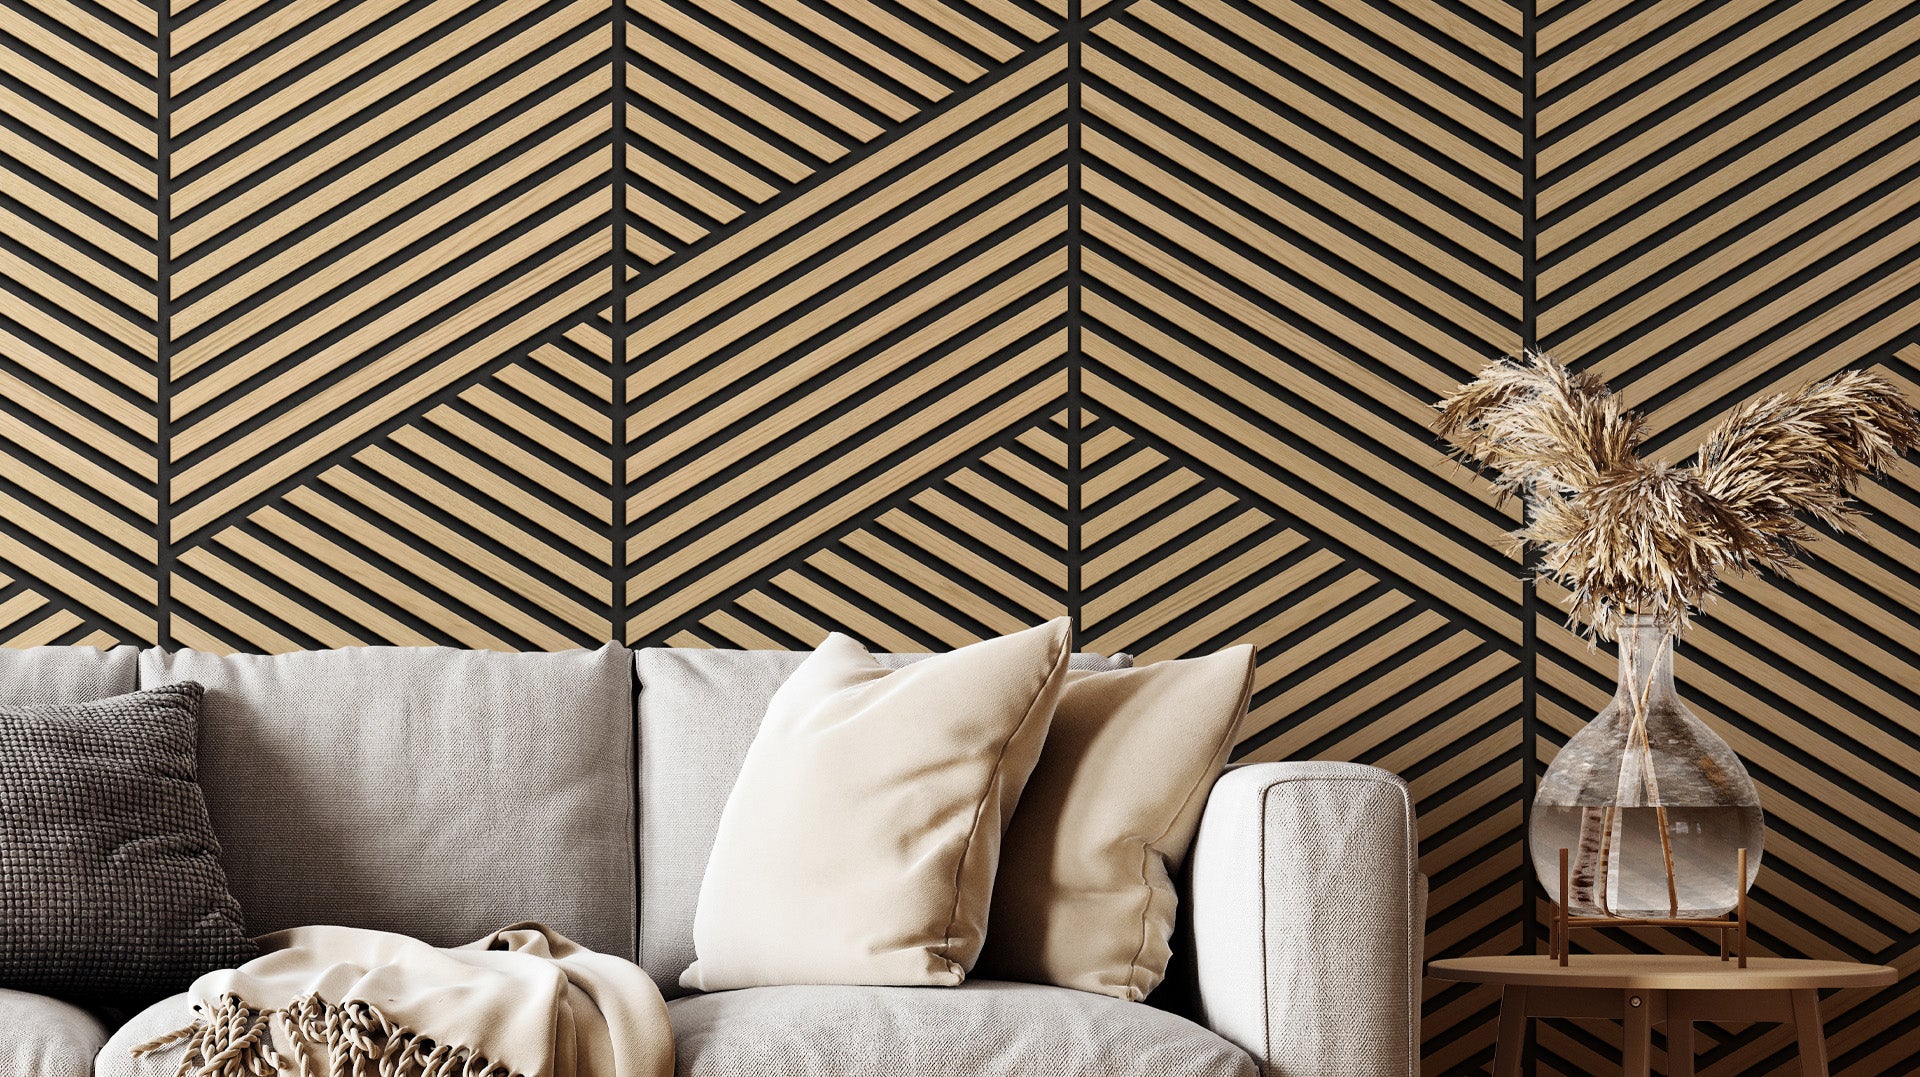
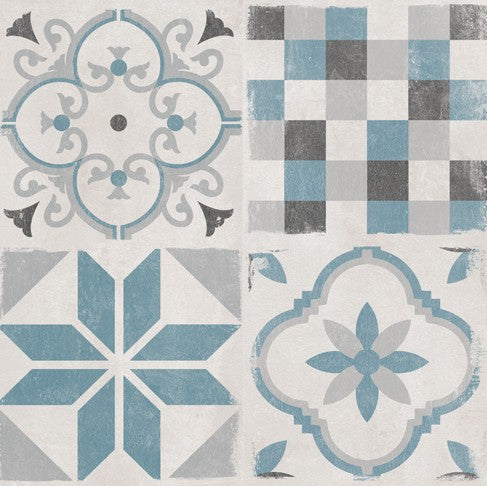
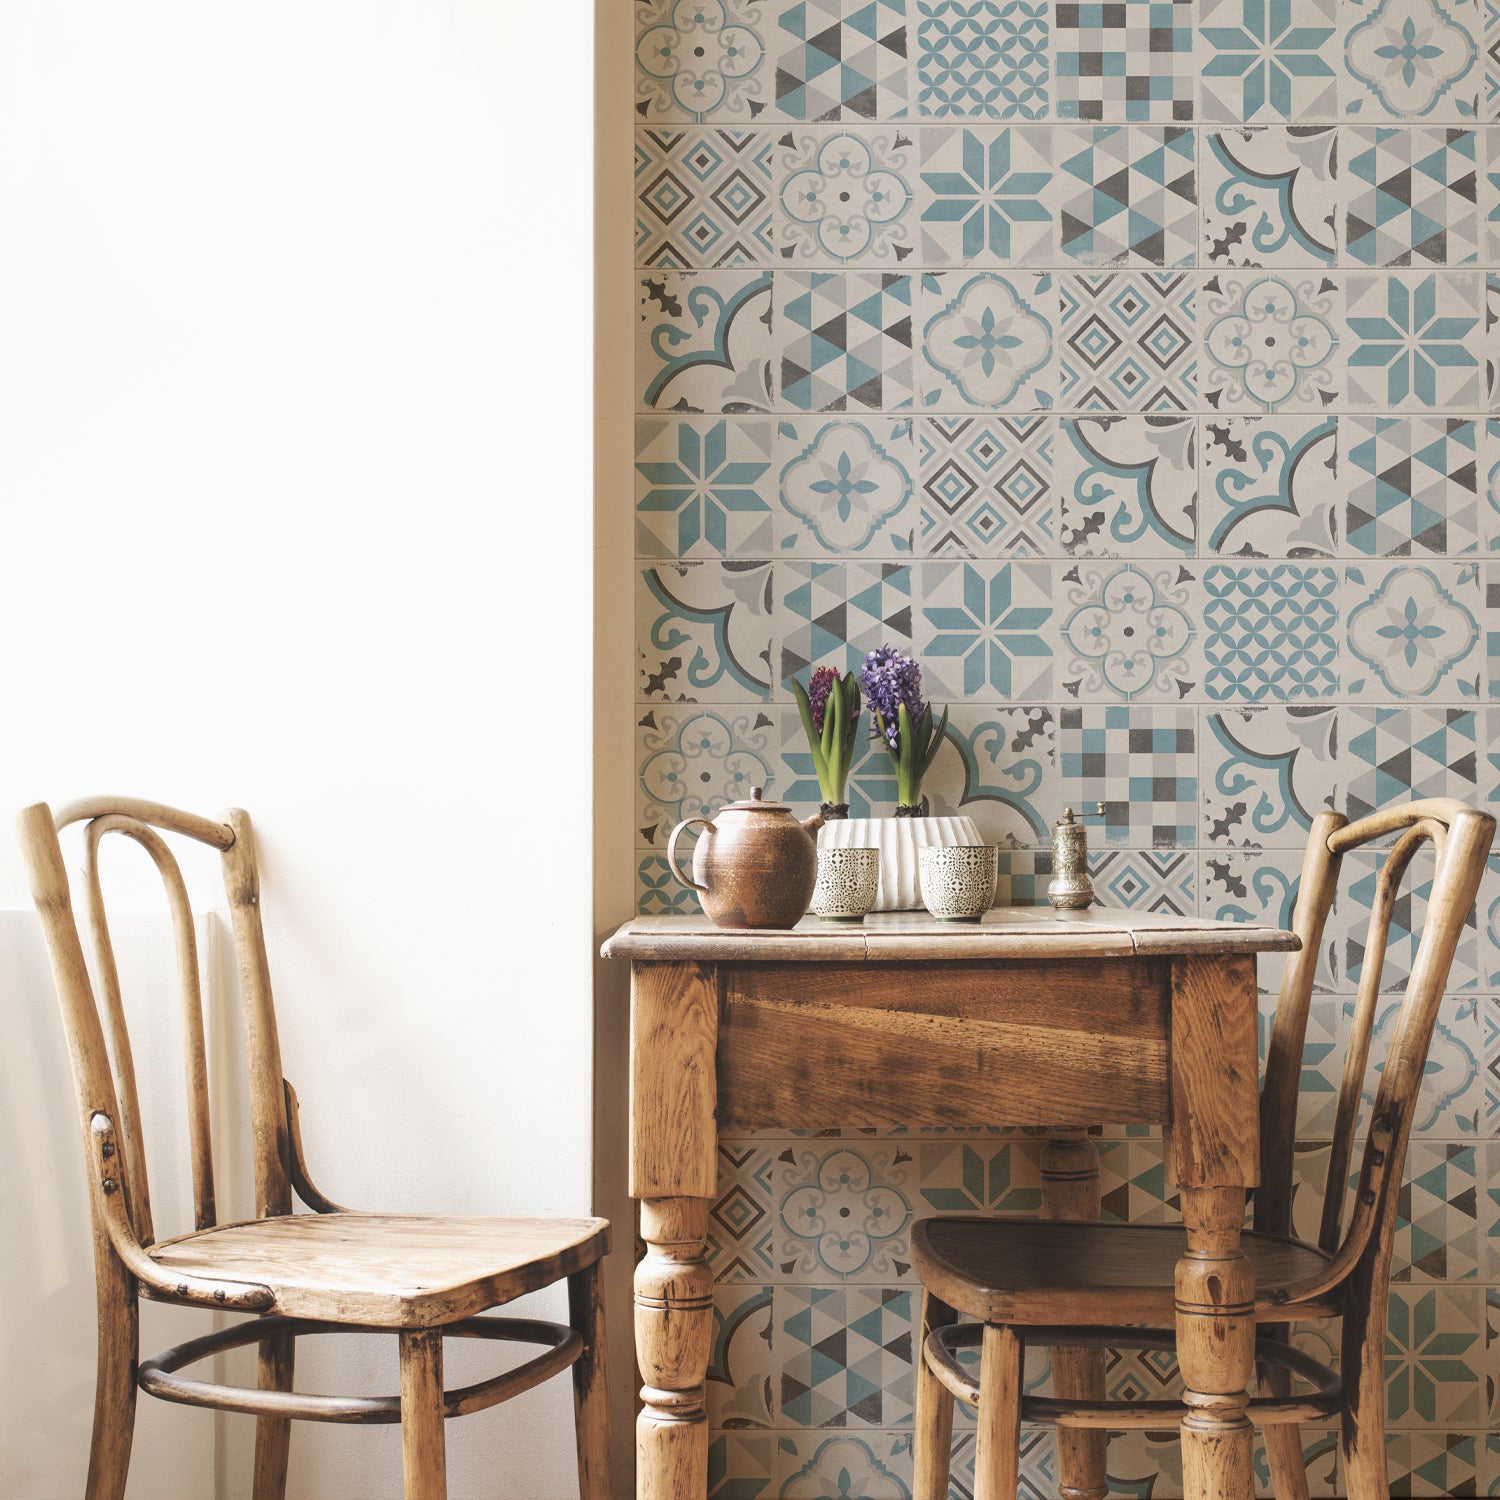
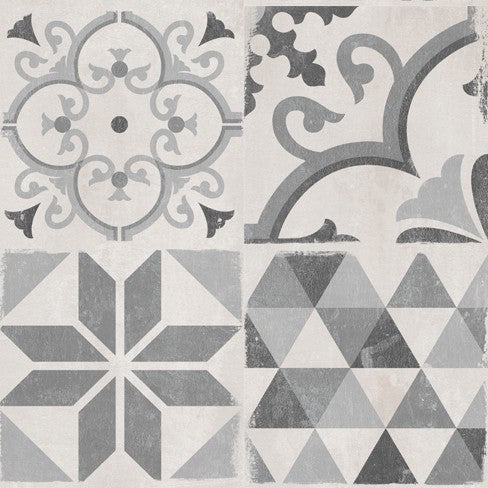
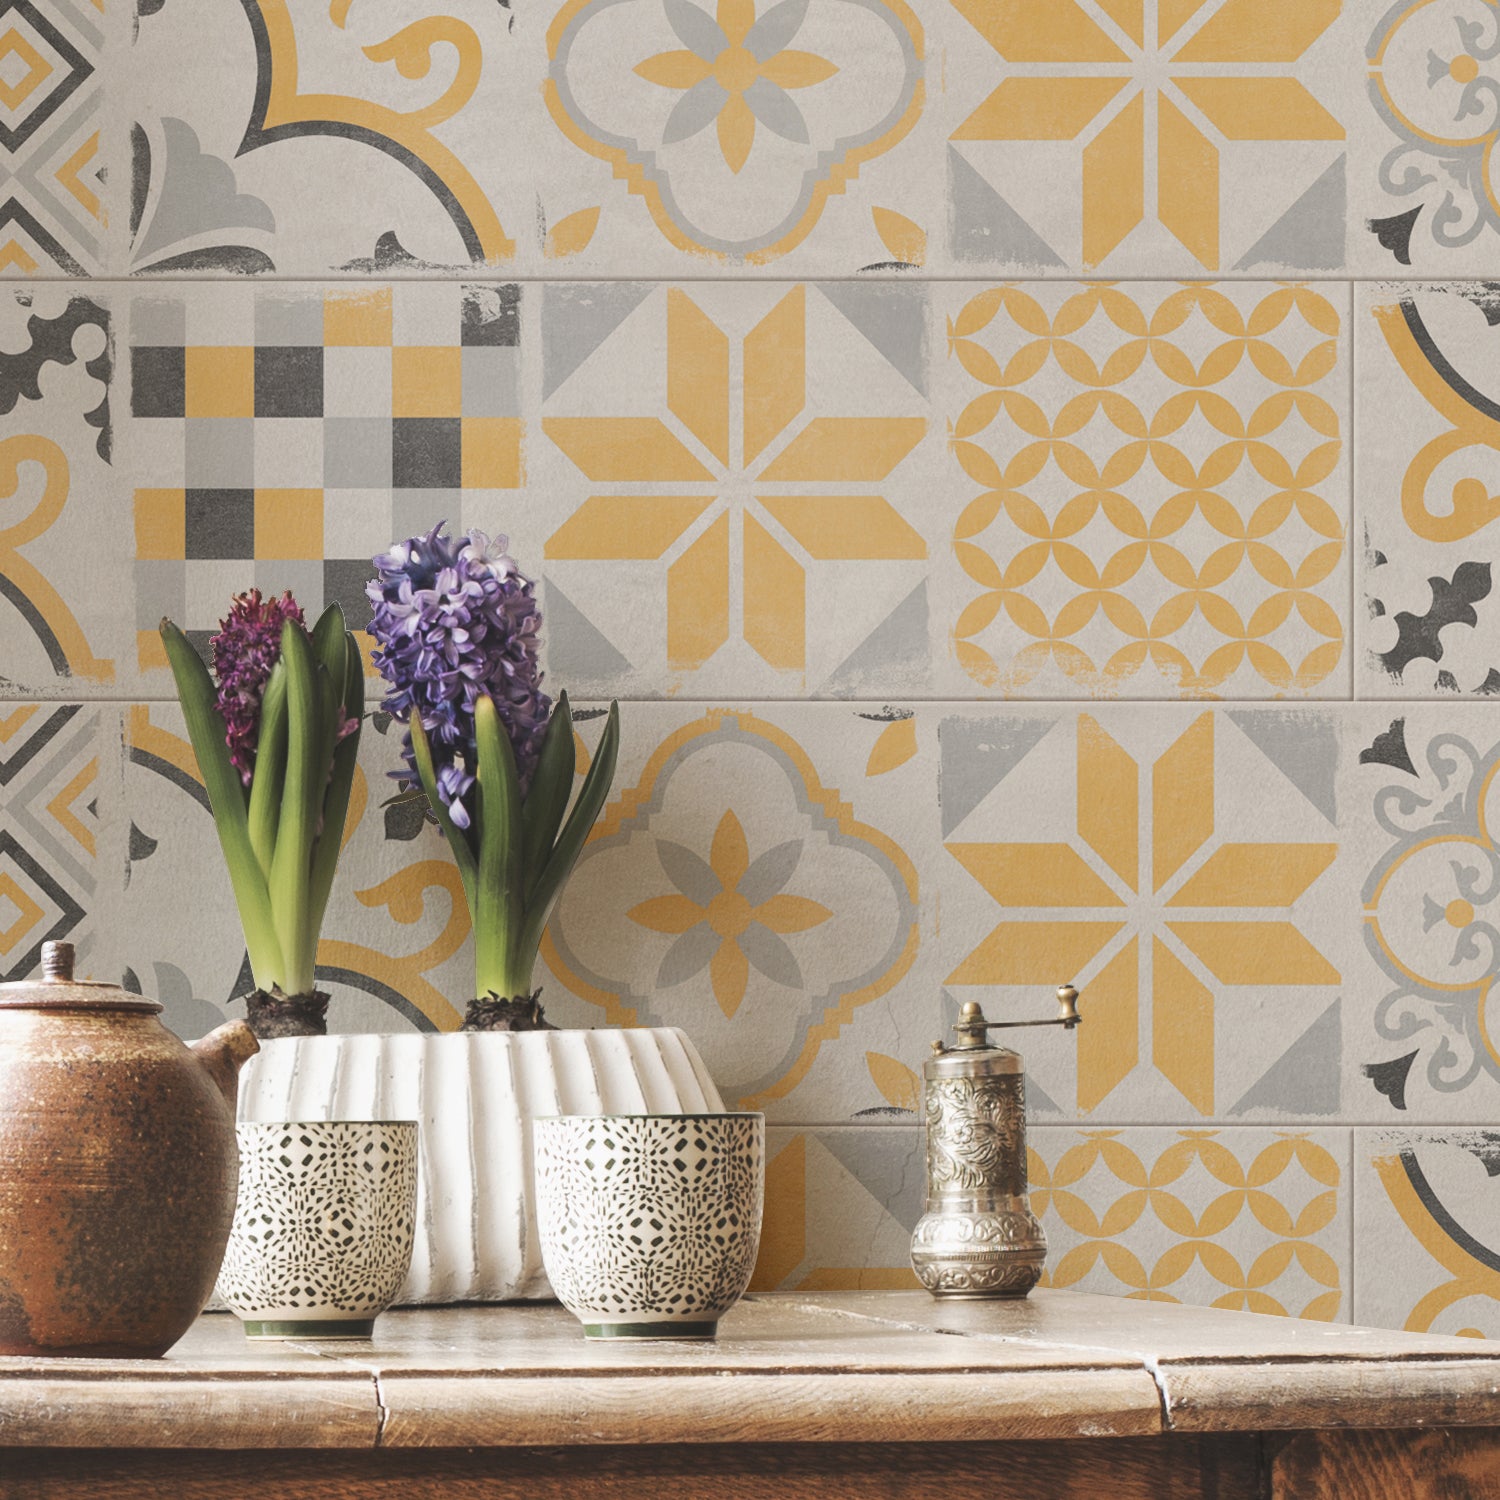
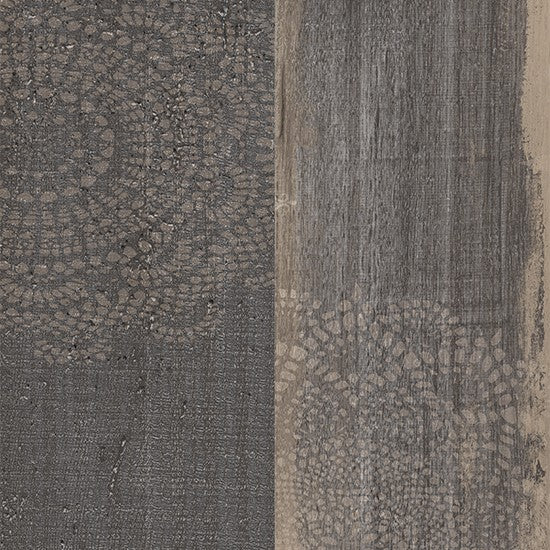
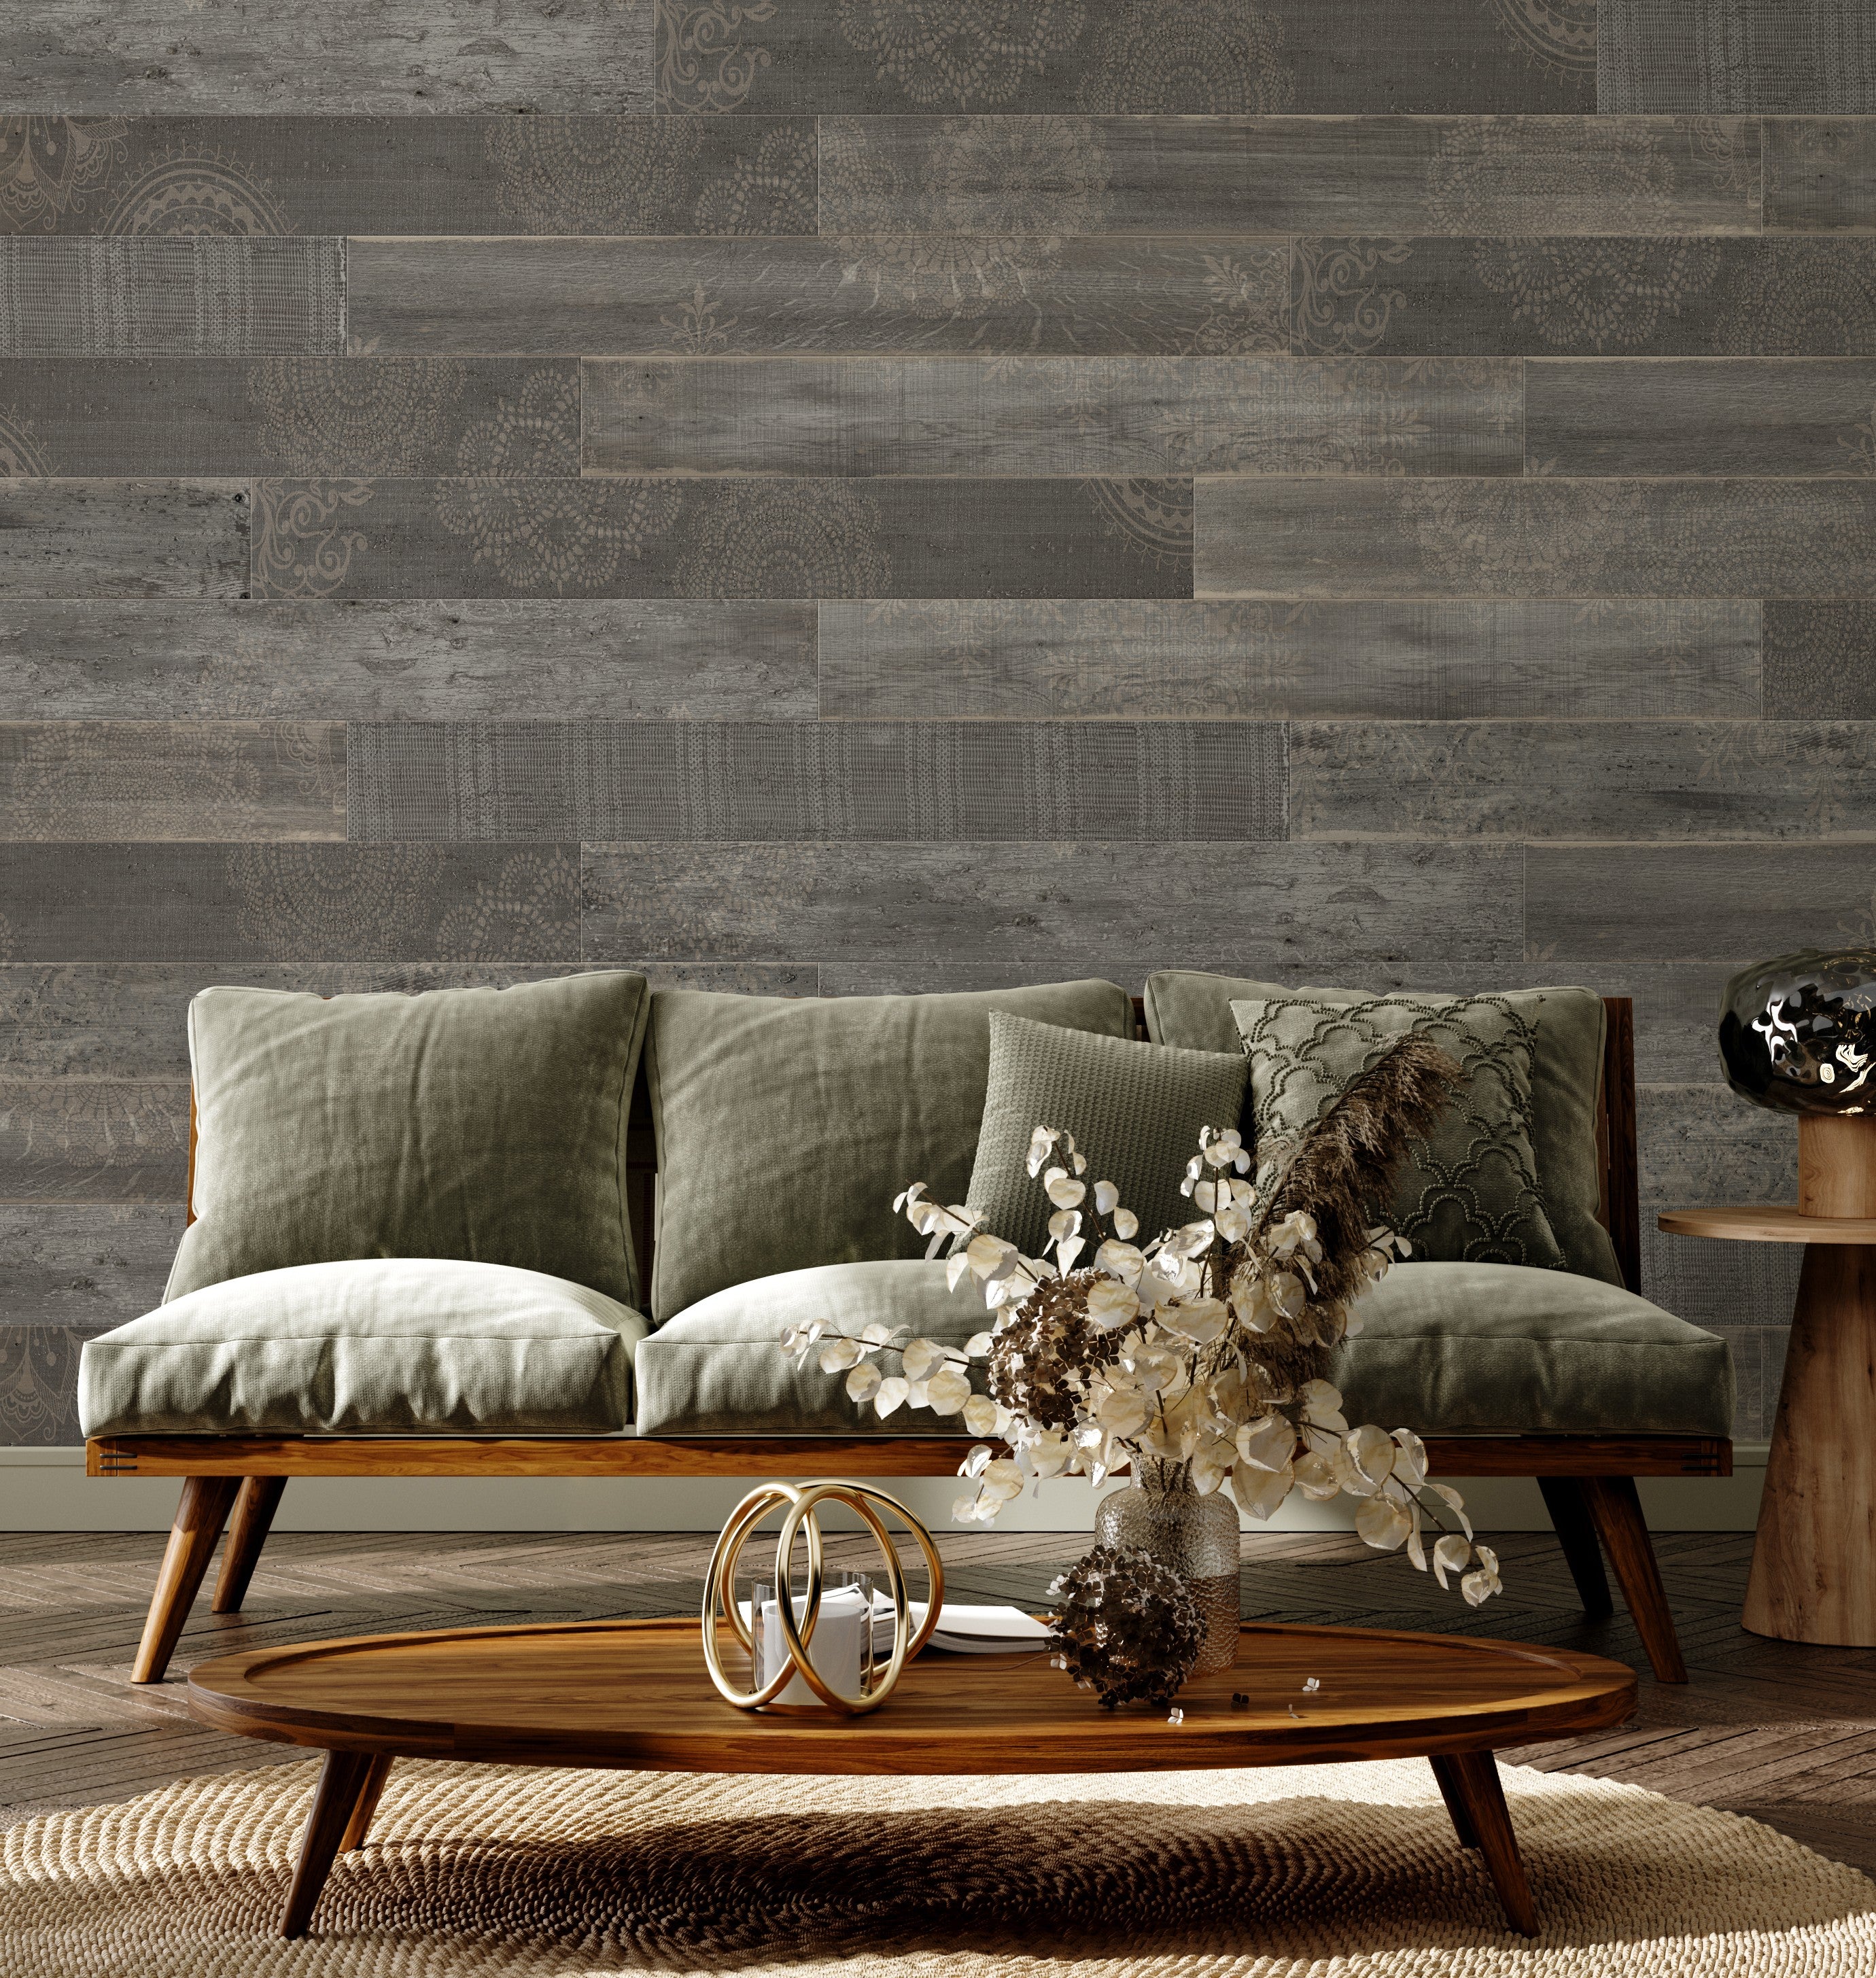
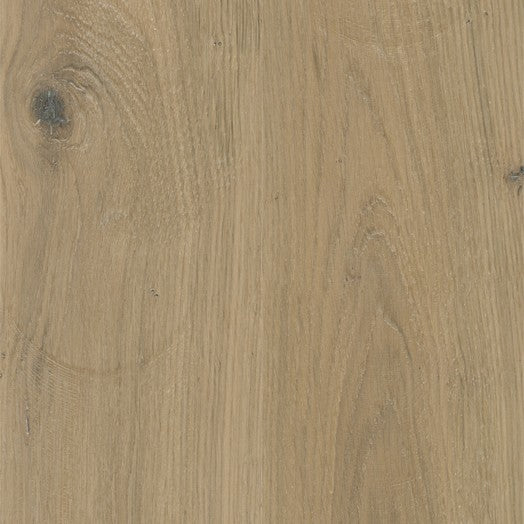
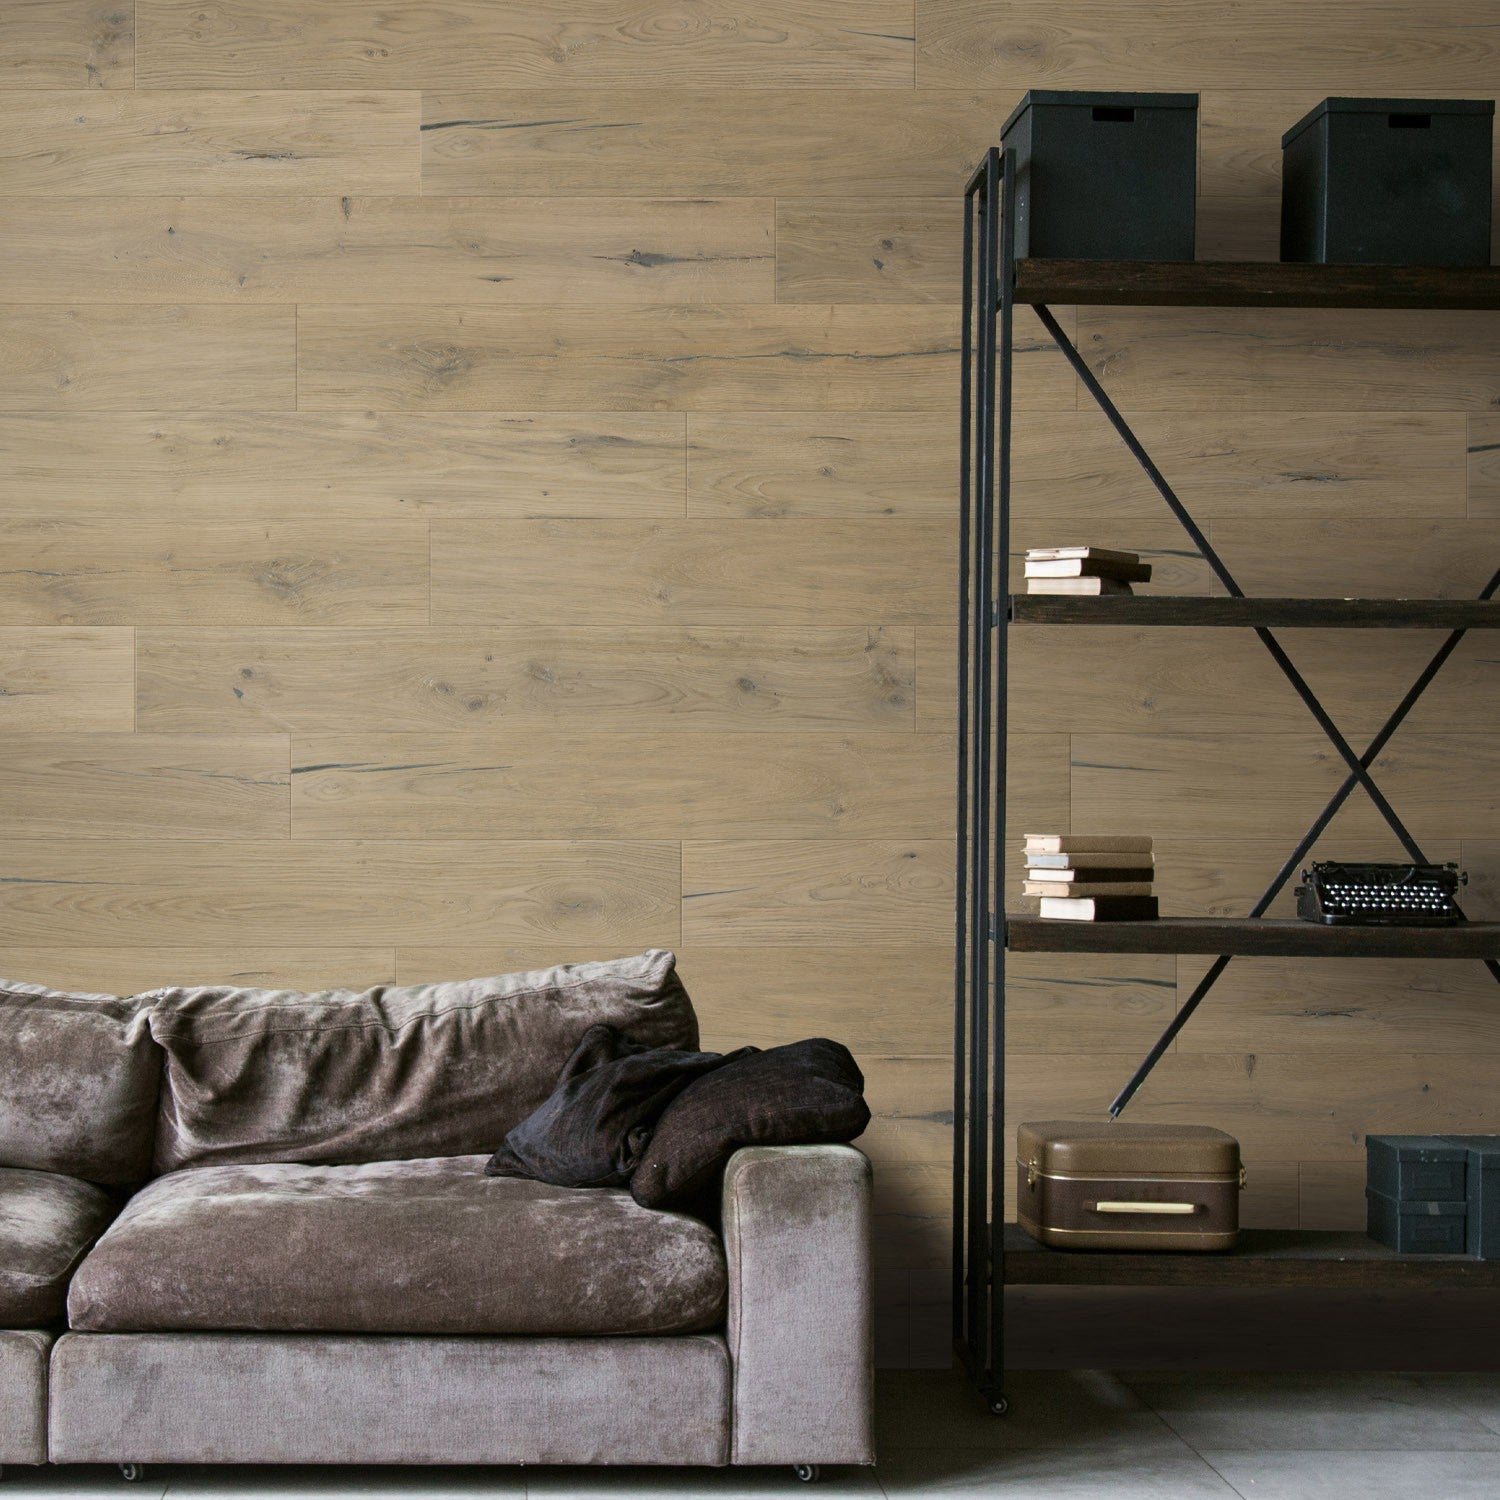
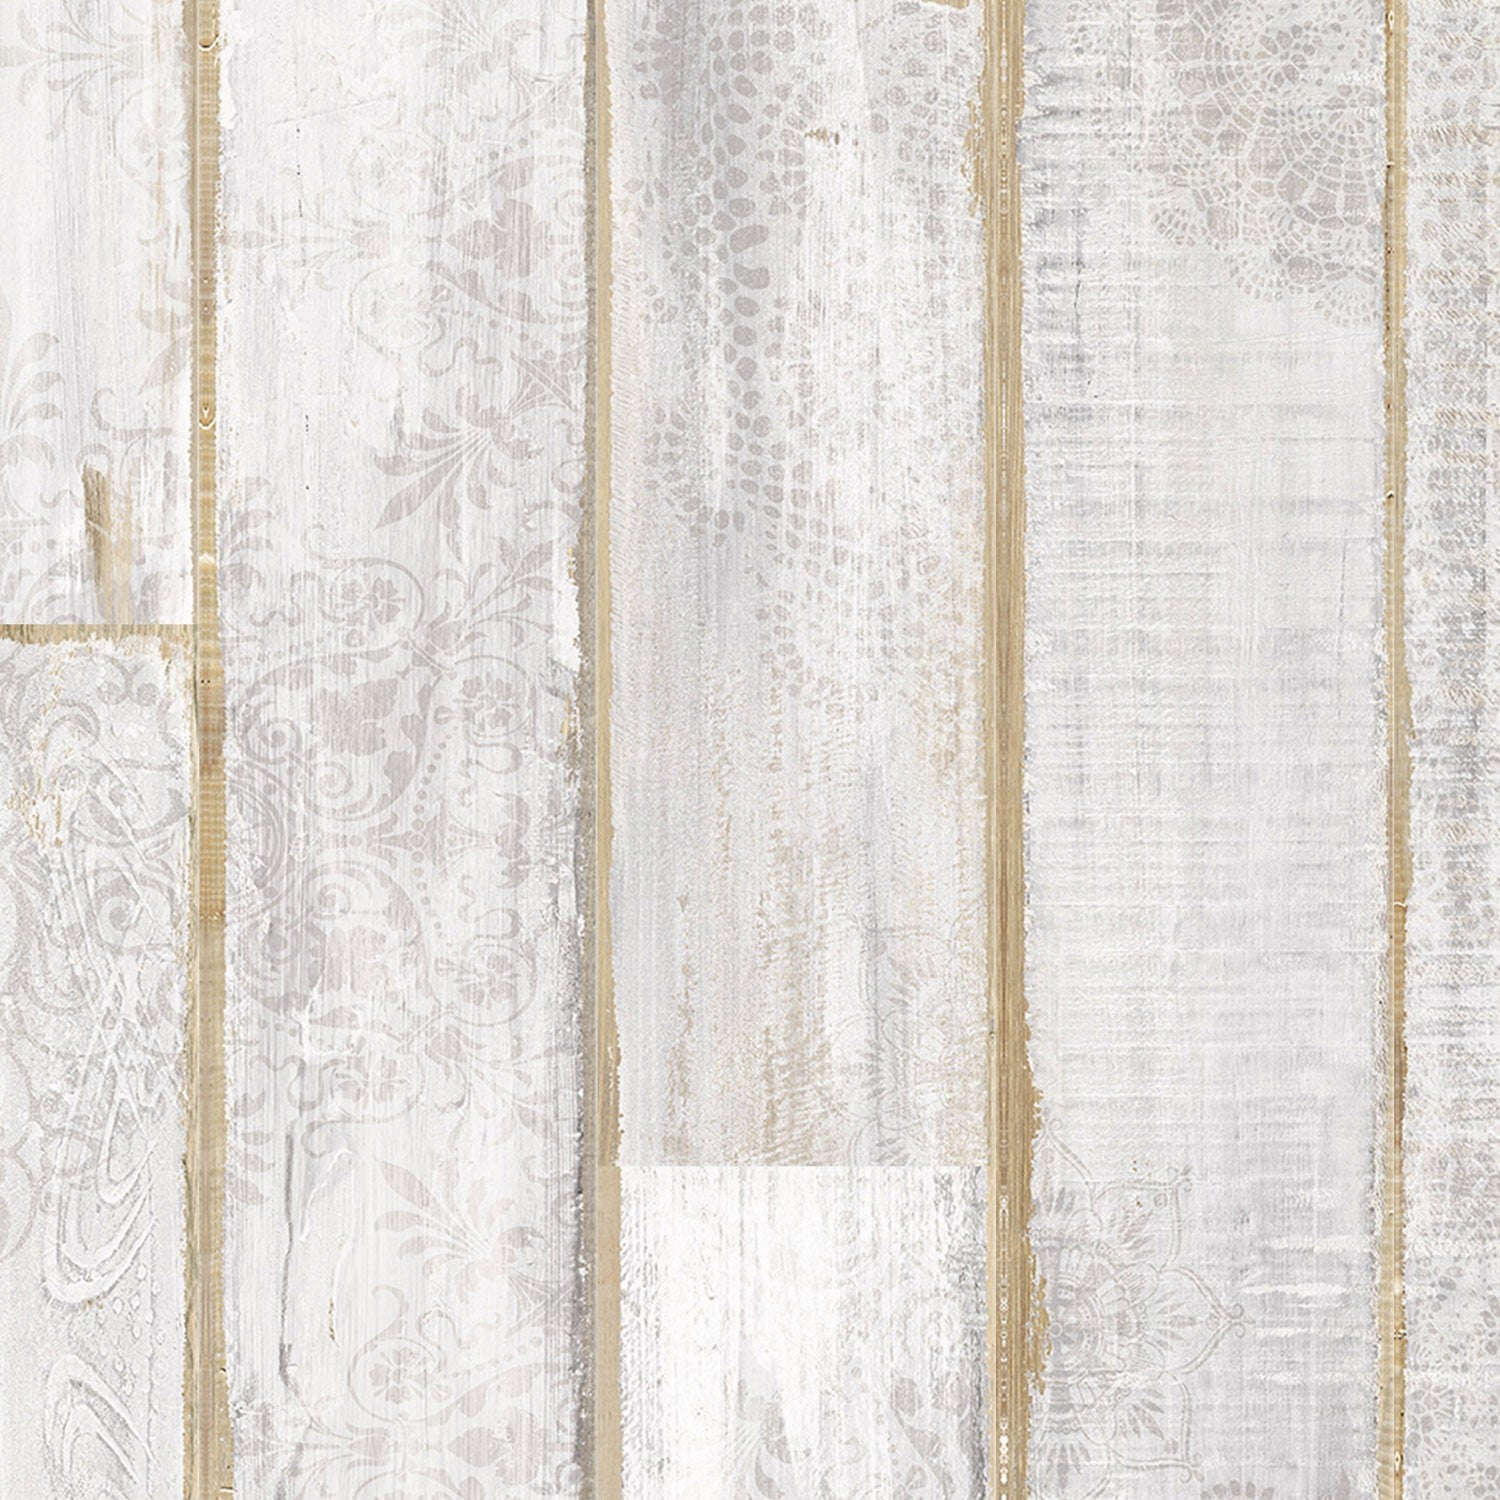
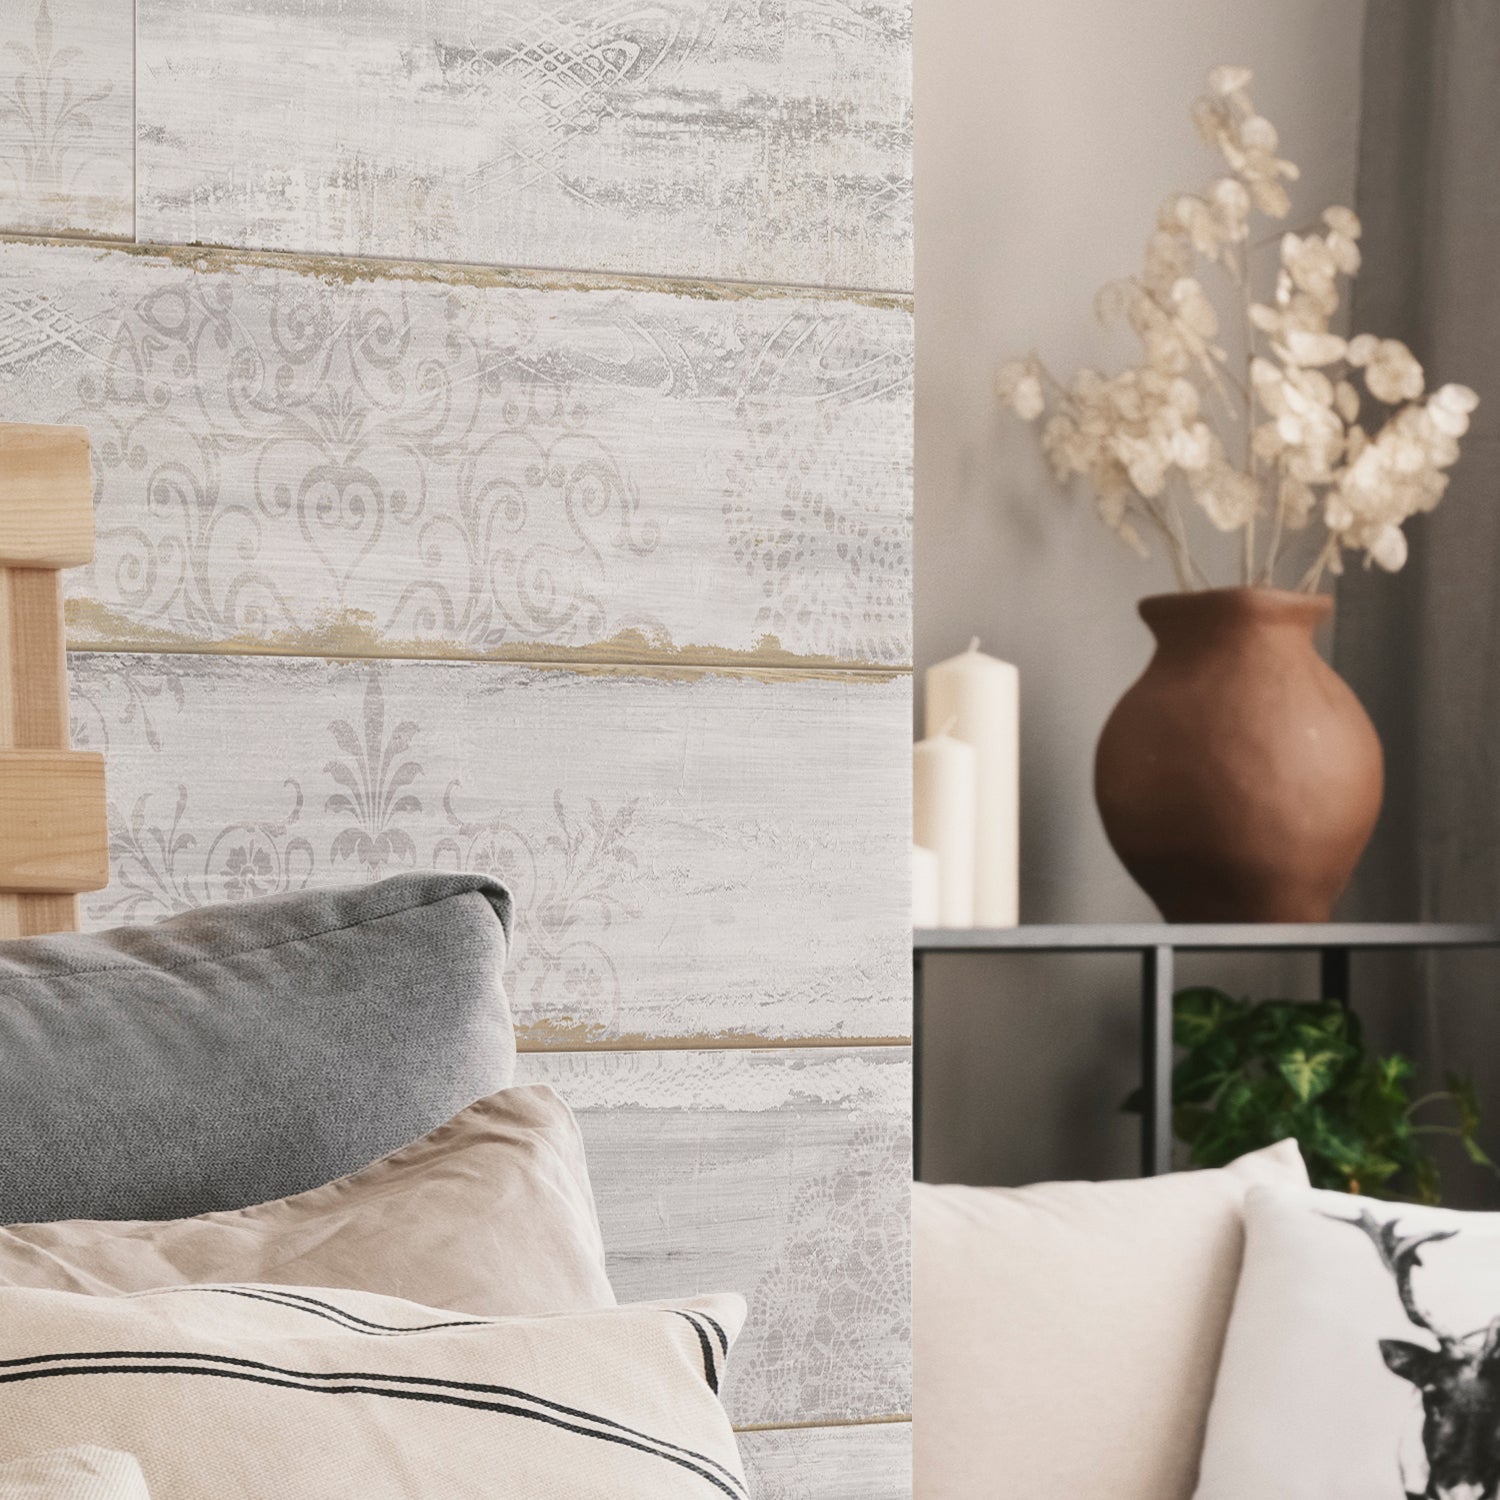
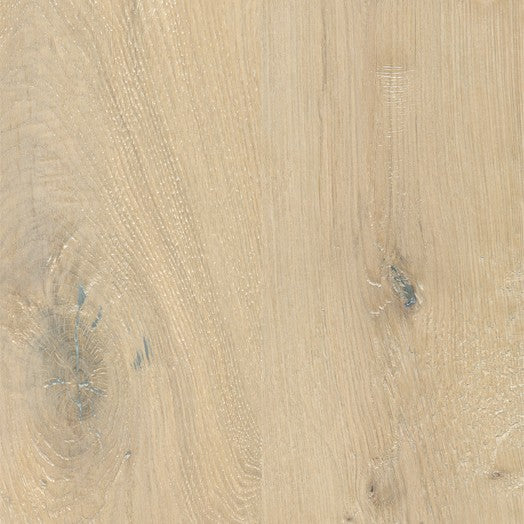
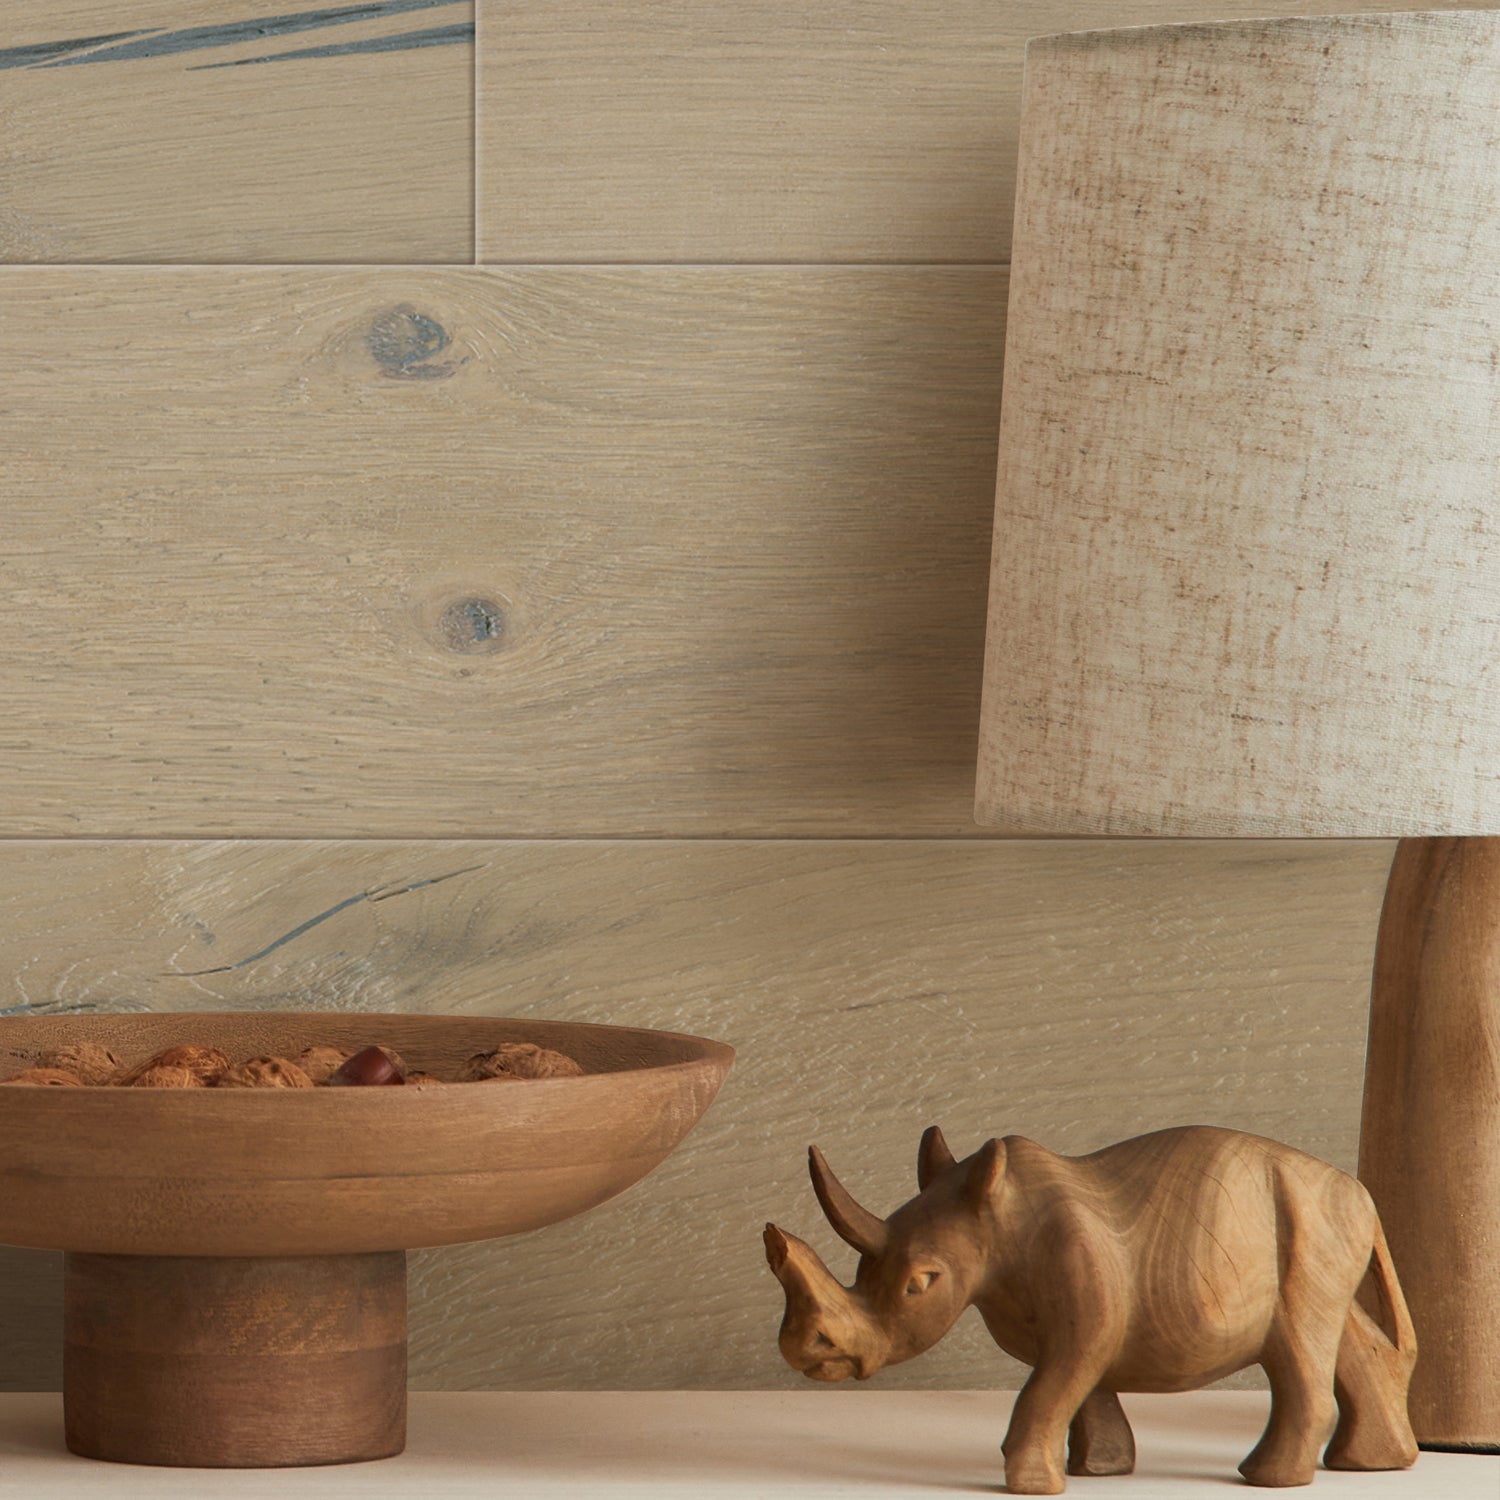
The main advantage of cladding is that it is quick and easy to install. It can be used on all types of surfaces (drywall, painted surfaces, wood, tile, plaster) and can be installed in just a few hours. When it comes to patterns, PVC offers a wide range of decorative possibilities. Would you like a Zen-inspired bathroom with a mineral look? Do you prefer an "industrial" style? From wood texture to concrete, marble or plain white, this cladding a world of possibilities.
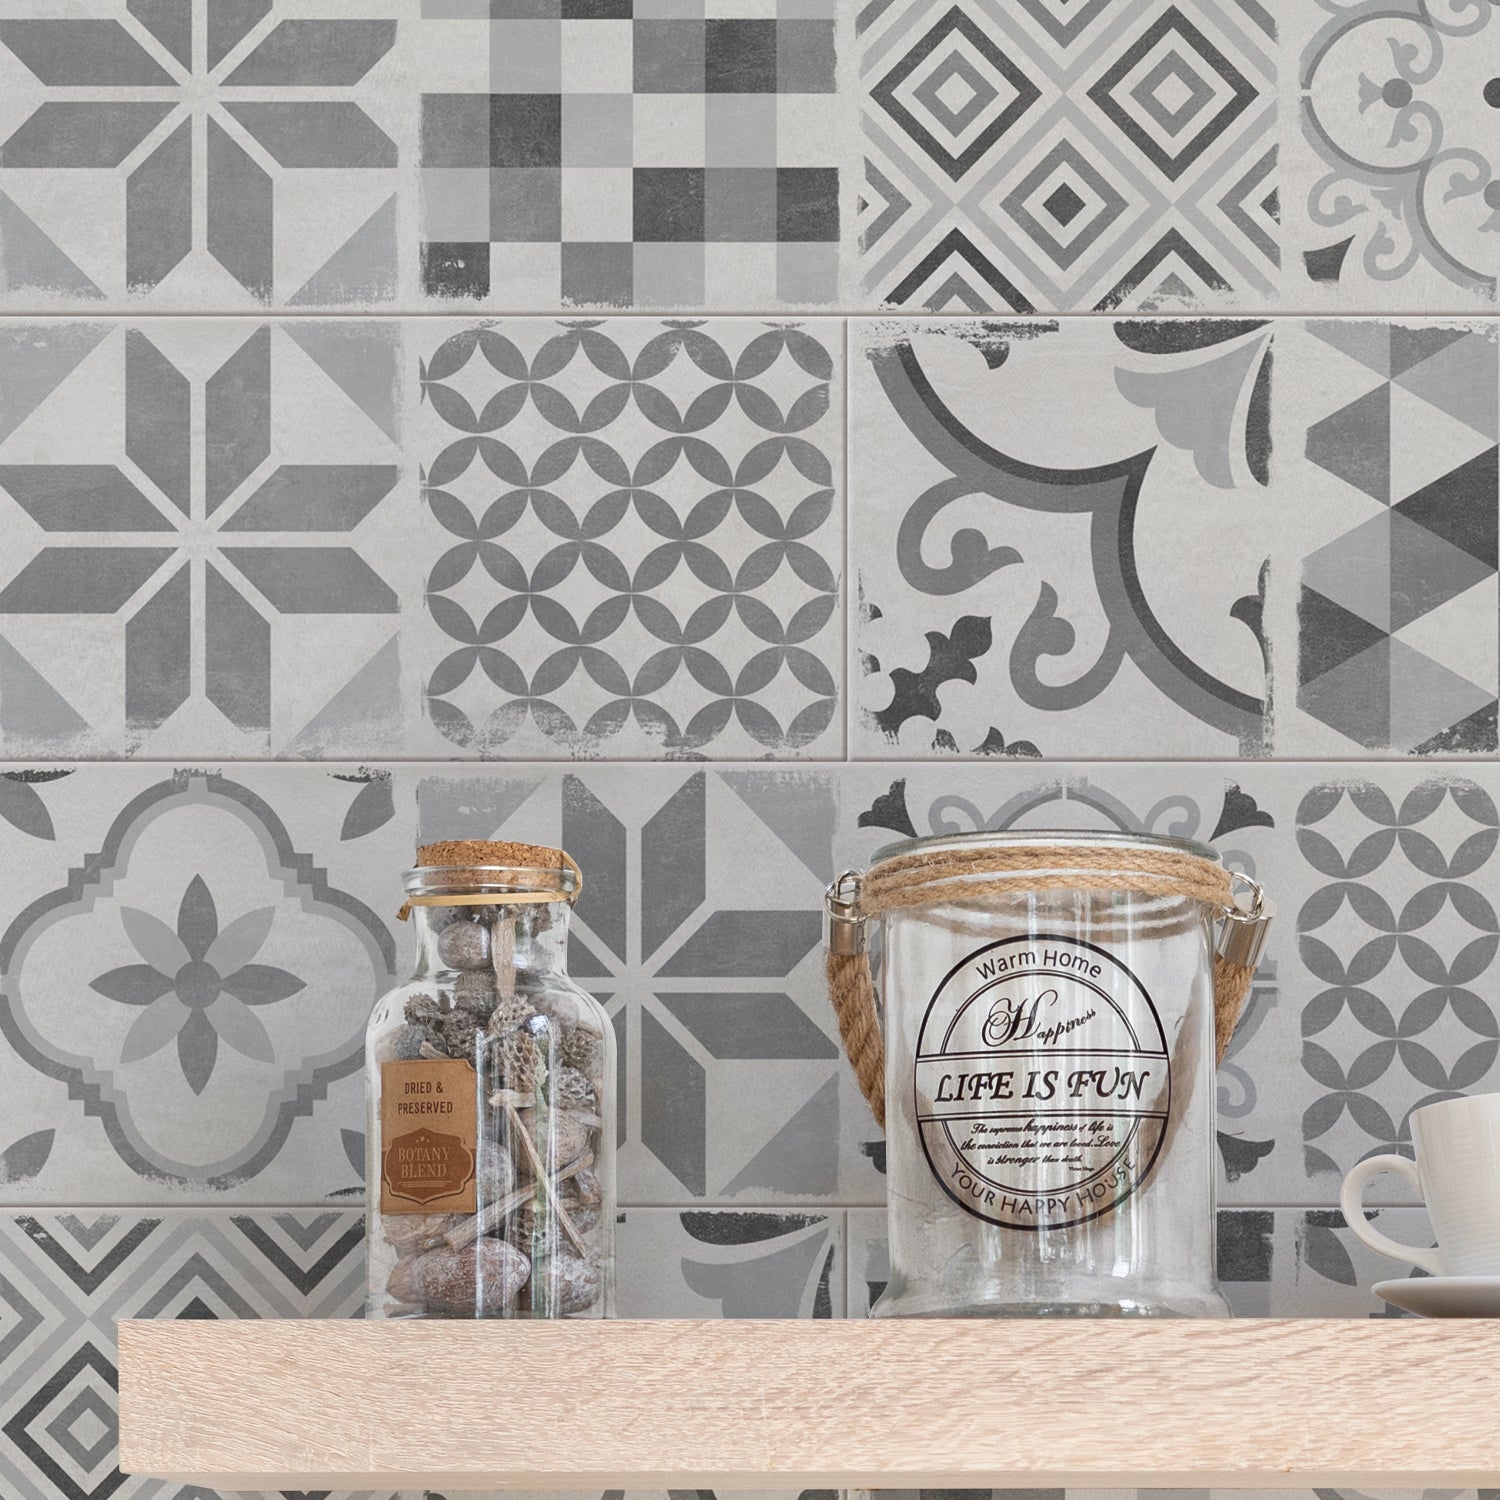
And the effect is surprising! From its appearance to its feel, it perfectly replicates the characteristics of the materials it imitates. Completely waterproof, it also has the advantage of being easy to clean: just use a soft cloth and a little soapy water, and you're done!
The equipment needed for installation
Are you already imagining yourself running around DIY stores? Well, no, not this time! Here, you don't need a professional toolbox. cladding , which comes in strips, requires minimal equipment: a pencil, a level, a tape measure, a ruler, and a cutter are all you need. Depending on the installation method you choose, you may also need a glue gun, a screwdriver, or a stapler. And if you opt for adhesive installation, you can use glue in a tube or ready-to-use double-sided foam tape.
Installation steps
Whether you're an experienced DIYer or a beginner, anyone can do it. First, choose the orientation of your slats. Would you prefer vertical or horizontal? Next, position the back of the finishing profiles around the perimeter of your shower enclosure. Then, take your tape measure, measure your walls, cut the first slat to the desired length, and trim the male end.
Depending on the installation method chosen (on battens or directly on wall, glued, adhesive, screwed, nailed, or stapled), install the board against the profile and check with your level that it is square. Then install the other boards using the first one as a guide.
Repeat this process on all the walls of your cabin. Finally, install the front of the finishing profiles, taking care to apply a bead of silicone around the perimeter of the walls to ensure watertightness.
And that's it, you're done!
Please note, however, that depending on the cladding model cladding , you should refer to the installation instructions to ensure that the product's waterproofing requirements are met!


